-
How to cut a 150mm cable tray elbow
Follow these steps to cut the stainless steel cable tray: 1. Begin cutting with slow, steady strokes if using a hacksaw, or carefully guide the power saw along the marked line. Apply consistent. Cutting a 150mm (6-inch) elbow requires more than just a steady hand; it requires a perfect layout. In this video, we demonstrate how to mark, wrap, and cut. The bends, tees, crosses, risers and reducers of wire mesh cable tray can be easily and quickly made live at the project by using a bolt cutter. Each example of bends and tee's clearly illustrate proper tray cutting combined with recommended usage of Cablofil accessories. Oglaend System manufacture and deliver Multidiscipline modular bolted support systems, cable trays, cable ladders and accessories for complete installation and containment of Instrument, Electrical, Telecom, HVAC and Piping. This comprehensive guide will walk you through the process of cutting stainless steel cable trays effectively and safely. They are commonly used in industries such.
[PDF Version]
-
How to cover a cable tray with a right-angled cable tray
The TX bracket allows you to fabricate tee or cross combinations in the ET/ET3/ET5 tray. Simply make the appropriate cuts in the side wall of the tray you are joining a length to, bend down the side wall, and attach a TX bracket either side.Always use 2 splice plates per length of tray and SBH and CNH splice nuts and bolts to fasten them in place. EzyStrut splice bolts have a smooth head which should be installed on the inside of the tray's side wall. The SBH's smooth head is specially designed so it cannot damage any cables.The radius plate comes in a standard 2m length, and the amount of fasteners you will need to install will vary depending on the angle and size of the desired bend and tray that you are using.The ET range of trays are generally secured onto strut with hold down units. Always install them in pairs, and always secure a tray at least twice along its length.Riser links must always be installed in pairs, one on each side of the tray. The quantities that you will need to use will vary depending on the size of the riser (internal or external) that you are fabricating. If ever you need any help, EzyStrut staff know our products, and can demonstrate them.
[PDF Version]
-
Can the internal structure of a cable tray elbow be spliced
The NEC requirement for splicing cables and conductors installed in cable trays is stated in Sec. Splices are permitted in a cable tray if the splice is accessible and insulated. Cable Ladders use pre-fabricated fittings for when you need to change the ladders' direction or work around a site, as well as splices to join multiple lengths. All sizes of cable ladder are offered with a full range of fittings that allow you to bend, tee, cross, rise, or reduce the laying. With an innovative dove tail splice design, Eaton's B-Line series KwikSplice cable channel is designed to reduce complexity, improve versatility and speed installs. The most common cable tray connection methods include: Each method differs in installation time, cost, flexibility, and strength. Choosing the right one depends on project conditions, load. According to 392.
-
How to insert a pigtail from the cable tray
Strip 1/2 inch of the PVC jacket from each end. Secure the loop to the electrical unit and fasten. A switch is being used in this example. These will then be connected to the main Romex wire. Pigtailing is an essential electrical wiring technique used when adding devices or when there aren't enough spaces in a junction box. Disclaimer: Always use multiple sources and do your homework before performing any electrical work.
-
How are cable tray supports assembled
Wall-mounted support for securing the cable tray against a vertical surface. An assembly (often with threaded rods) used to suspend the tray from the ceiling/overhead structure. Why Are Cable Tray Supports Important?Article Summary: A compliant cable tray installation requires a thorough understanding of NEC Article 392, proper structural support, and precise installation techniques. This guide covers the critical steps, from selecting the right electrical cable tray and performing accurate cable fill. en completely installed, without damage either to conductors or structural system use maintain spacing or to keep cables in place when the tray is ect the minimum bend ra-dius for cables as they exit the bottom of the cable tray. A rung spacing of 6 to 9 inches (150 to 230 mm) is preferable when. Our cable support systems are part of the Industrial installations area of application and, for all products used in industry, the following applies: They must withstand different weath-er and ambient conditions, as well as mechanical loads.
[PDF Version]
-

How to connect the main cable to the branch line of the cable tray
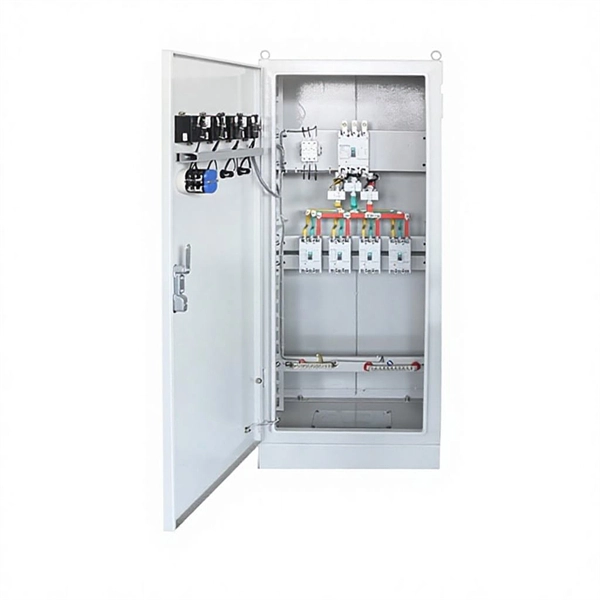
Place screw head on inside of branch cable tray, put the jumper outside of branch cable tray, add flat washer and locknut, then tighten. Cable tray shall be grounded as defined in SAES-P-111 Section 7, 8, and 9 and NEMA VE-2 Section 4. Connecting cable trays correctly is essential for system safety, load stability, and long-term performance. Choosing the right one depends on project conditions, load. All cable trays and supports will be installed as shown on EPC approved design construction drawings and located to avoid interferences with other facilities. NEMA ratings are standards that define the types of environments an electrical enclosure can be used in. It ensures that all installation activities follow authorized plans, specifications, and standards.
-

How much distance should there be between the cable tray and the side support
For horizontal sections where cable trays are laid out in a straight line, the typical support span (distance between supports) should range from 1. This range allows for easy access and efficient maintenance. The NEC requires that cable trays must be supported by members at an interval specified by the cable tray manufacturer, but not more than 5 feet for horizontal runs to support the weight of the cables and other loads. According to the regulations under NEC 392. 10 (B) (1), the smallest size single conductor allowed to be installed in a cable tray is 1/0 AWG. For the installation of single conductor cables sized 1/0 AWG to 4/0 AWG in industrial establishments, the NEC specifies the maximum allowable rung spacing for the cable. Unlike a simple wire trough, which is typically a covered channel for shorter runs, cable trays provide a comprehensive support system for complex wiring paths over long distances. A well-planned cable tray installation not only organizes conductors but also provides protection and makes future.
[PDF Version]
-
How to connect the mesh cable tray to the server rack
The answer: use the right connection accessories for a secure, aligned and continuous cable support system. In most cases, sections of wire mesh baskets or electrical cable trays are joined using couplers, bolts, or proprietary connector kits. A good plan means the job goes smoothly. Decide the route first; make sure it doesn't hit any equipment or pipes already there. We, one of the foremost Cable Tray Manufacturers in India, offer a wide range of high-quality wire mesh cable trays in various sizes and finishes to cater to diverse. Eaton's Wire Mesh Cable Tray System lets you efficiently organize, route and protect copper network cable, A/V cable and other light cable bundles. Plan how data and power cables will be. Properly mounted mesh cable trays serve a dual purpose: they not only keep fiber optic and Ethernet runs neatly organized, but they also play a vital role in preserving airflow.
[PDF Version]
-

How to branch cables within a cable tray
Tees and Crosses: Create branches in the system to route cables to different areas. Reducers: Used to connect trays of different widths, often when moving from a main run (wide) to a branch run (narrow). Covers: Protect cables from falling debris, dust, moisture, and unauthorized. Let's take a closer look at the significance of managing cables in cable trays, the fundamental principles, methods, and steps required for effective implementation, as well as a case study of a successful cable management implementation. Managing cables in cable trays is not only essential for. This guide covers the critical steps, from selecting the right electrical cable tray and performing accurate cable fill calculations to managing a safe cable pull through and ensuring all bonding and grounding requirements are met. For licensed electricians, mastering these principles is essential. Installation of Cable in Cable Trays involves precise routing on support systems, NEC/IEC compliance, grounding, ampacity derating, bend radius control, segregation of services, fire safety, labeling, and reliable cable management for industrial and commercial facilities.
[PDF Version]