-

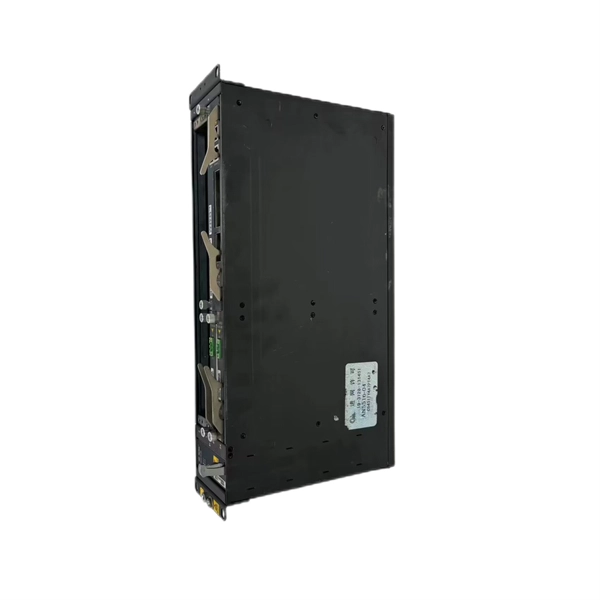
How to connect the 10 Gigabit Ethernet cable to the fiber-to-electrical port module
A special 10G Copper RJ-45 Transceiver (10G-SFP-T) is required to connect the SFP+ port to RJ45. It allows connecting a server/storage side Cat6/7 cable to an SFP+ port transceiver. An SFP module (or optical transceiver) converts electrical signals from network devices (switches, routers) into optical signals for fiber transmission and vice versa. 1G/10G SFP+: Standard for Gigabit and 10 Gigabit Ethernet. These transceiver modules are hot-swappable input/output (I/O) devices that plug into 100BASE, 1000BASE and 10GBASE ports (for SFP+), which connect the module port with the fiber-optic or copper network. 4ft (30m) * using Cat6a/Cat7 or above cable for 10G connection in various applications. In this video, we'll guide you through building a high-speed 10G LAN by connecting two fiber switches. Finally, check the transmit (TX) and receive (RX) paths to ensure that signals are aligned.
[PDF Version]
-

How to install the square connector on the terminal box
Drive mounting screws (included with Verkada device) directly into the pilot holes using the relevant hole pattern (A - E) of the junction box. Separate wall anchors may be required. Feed Ethernet cable through the center of the junction box before fully securing it to the. Connect the power adapter and cable to the accessory hub. Hold the power button for about three seconds to turn Square Terminal on. For wireless connection (Wi-Fi). It's easy to connect to Wi-Fi or Ethernet, sign up for a Square account, and add receipt paper and accessories you might need, like a cash drawer or bar code scanner. Let's get. Still need help? Device setup. This will help you know what your project needs.
-
How to install a climbing cable tray
Step-by-step on-site guide: learn how to plan, mark, support, and install cable trays correctly, from shop drawing approval to final checks. The Guardian Cable Climbing System includes top and bottom brackets, a ladder ca. more Learn how. Article Summary: A compliant cable tray installation requires a thorough understanding of NEC Article 392, proper structural support, and precise installation techniques. This guide covers the critical steps, from selecting the right electrical cable tray and performing accurate cable fill. This method statement describes a detailed procedure for properly installing cable trays and conduits for the Feeder System. Maximum strength for long span applications.
-
How to install the electrical assembly box
In this step-by-step tutorial, we'll cover: ✅ Tools you need ✅ Safety precautions ✅ Mounting the box ✅ Wiring tips ✅ Final checks Perfect for beginners, DIYers, and electricians who want a clear installation guide. more Learn how to properly install an electrical box safely. Learn how to properly install an electrical box safely and efficiently. I was having issues with the breaker tripping when my air compressor would kick on. For this install, I need to install a GFCI outlet, a.
-
How to install a dedicated network cabinet
In this ultimate guide, we will walk you through the step-by-step process of setting up a home network wiring cabinet. We will discuss the importance of cable management, the types of cabinets available, and provide tips and recommendations for choosing the right cabinet for your. A home network wiring cabinet, also known as a network rack or cabinet, is a dedicated space where you can install and organize all your networking equipment, such as routers, switches, modems, and other devices. It serves as a central hub for your home network, allowing you to easily access and. Learn with us as we build a medium sized network - about 90 wires, 3 switches, UPS, and related items, installed in a wall mounted configuration in concrete. In order to meet the normal operation of these devices in the cabinets, when the computer room cabinets are full of various cabinets and devices, we need to consider how to place the network cabinets? 1. Proper installation of the network cabinet is essential to ensure the efficient operation of the network equipment, as well as for ease of maintenance and future expansion.
[PDF Version]
-
How to install the cable tray beam bend
The fittings can fastened to the cable tray rail either with double clamps of type DOP A2 or with truss-head bolts of type FRS and combination nuts. The exceptions to this are vertical bends, adjustable bend elements and fittings with a side height of 35 mm. These fittings can only be screwed on. Beam bracket PK1 is attached to the lower flange of an I beam. These guidelines are not intended to cover all details or variations in cable ladder and cable tray. en completely installed, without damage either to conductors or structural system use maintain spacing or to keep cables in place when the tray is ect the minimum bend ra-dius for cables as they exit the bottom of the cable tray. A rung spacing of 6 to 9 inches (150 to 230 mm) is preferable when. Hubbell's NEXTFRAME® Ladder Tray is the effective and widely used cable runway that supports and delivers bundles of cable between cabinets, racks, and closets, along walls, and suspended from ceilings. Cable ladder systems and cable tray systems shall be manufactured in accordance with BS EN 61537, channel support.
[PDF Version]
-
How to install a 24-port network patch panel
This video shows how to punch down 24 port patch panel (cat6 patch panel wiring) and also showing Live 15 U network rack mounted on wall equipped with d'link patch panel 24 port, network cable (cat 6 cable) manager and 24 port d'link network switch. So, you purchased all of your shielded solid copper Ethernet cable, shielded keystone jacks, termination tools, and are ready to get your installation started! Finally, a wired network to install your outdoor security cameras rather than relying upon potentially unreliable Wi-Fi. Did you. A patch panel is an essential component in networking, serving as a central point for connecting various network cables. Effective cable management is crucial for maintaining an o. Even as Wi-Fi 6E and Wi-Fi 7 push uplink bandwidth to 5G/10G and. F. This installation guide focuses on what a patch panel does, patch panel installation basics, and how to connect patch panel to switch while keeping cabling. Ubiquiti, Ubiquiti Networks, and the Ubiquiti U logo are trademarks or registered trademarks of Ubiquiti Inc. in the United States and in other countries. All other trademarks are the property of their respective owners.
[PDF Version]
-
Switches are all 10 Gigabit optical
To implement different 10GbE physical layer standards, many interfaces consist of a standard socket into which different physical (PHY) layer modules may be plugged. PHY modules are not specified in an official standards body but by (MSAs) that can be negotiated more quickly. Relevant MSAs for 10GbE include (and related X2 and XPAK), and. When choosing a PHY.
-
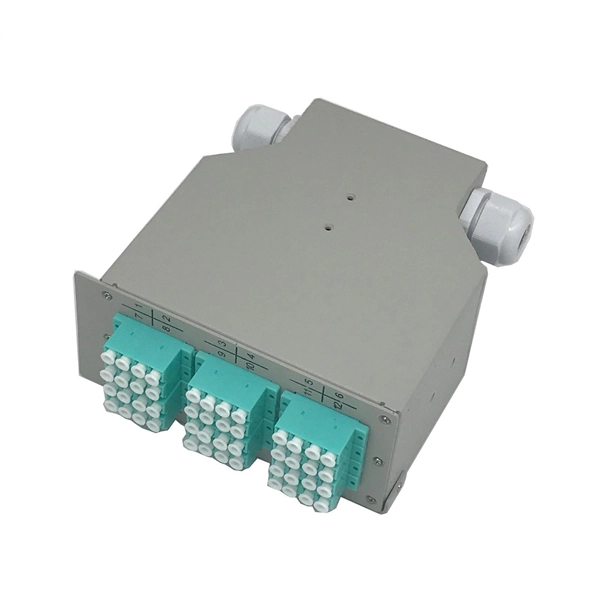
The function of a 10 Gigabit optical splitter
By dividing a single optical signal from a central Optical Line Terminal (OLT) into multiple outputs for Optical Network Terminals (ONTs) at users' homes, splitters eliminate the need for dedicated fibers to each residence—slashing infrastructure costs while scaling network reach. An Optical Splitter, also known as a beam splitter, is a passive optical device that divides a single input optical signal into two or more output signals. Conversely, it can also combine multiple signals into one. Optical splitter. Where splitters are placed in the network can make significant impacts on fiber counts, network cost and deployment time and operational steps, such as customer onboarding and maintenance. One important note is that splitting architectures should be seen as tools that can be mixed and matched to. The trick is how that single signal gets divided. That's where splitters come in.
[PDF Version]
-
How to install an all-plastic electrical distribution box
In this step-by-step tutorial, we'll cover: ✅ Tools you need ✅ Safety precautions ✅ Mounting the box ✅ Wiring tips ✅ Final checks Perfect for beginners, DIYers, and electricians who want a clear installation guide. more Learn how to properly install an electrical box safely. Whether you are an electrical contractor or a construction brigade, knowing how to properly and safely install distribution boxes is the basis of ensuring the safe operation of the entire system. Covers wiring, placement, standards, and expert tips for a compliant setup. Whether it is residential buildings, commercial facilities or industrial sites, the.
-
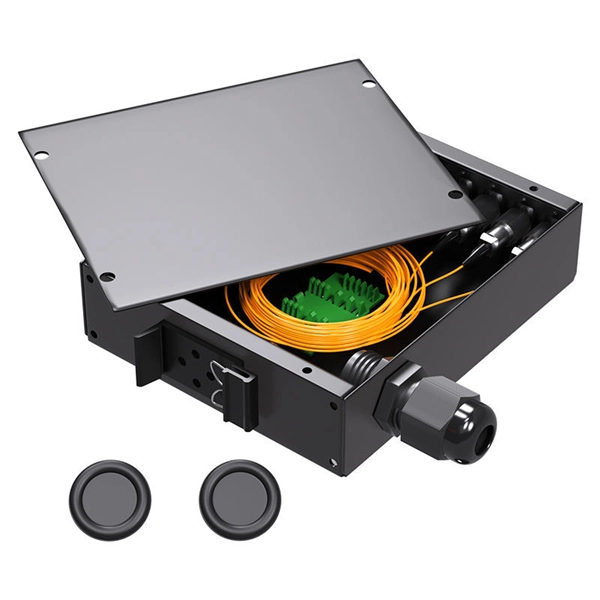
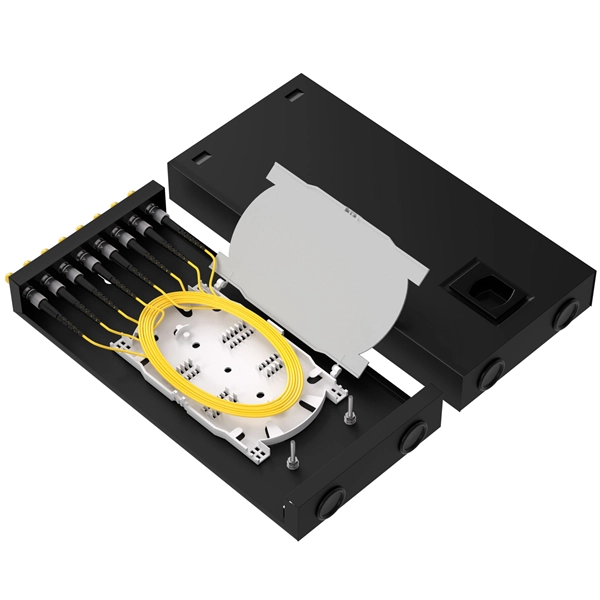
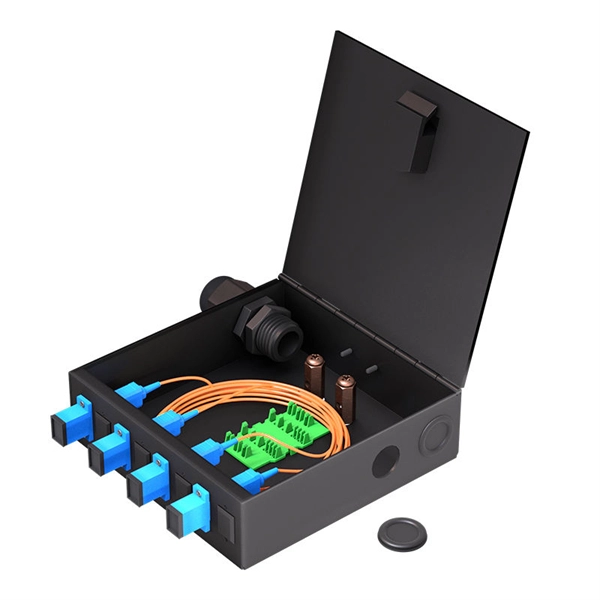
How to connect the fiber optic box and the terminal box
Secure the box with screws (ensure depth ≥40mm). Run incoming fiber cable through the box's entry port. Connect ONT to socket with. Learn how to install a fiber optic termination box step-by-step for FTTH projects. Covers mounting, splicing, routing, labeling, and testing for indoor/outdoor use. Thus, a fiber termination box is used to terminate the optical fiber. Installing a fiber wall socket (also called an FTTH outlet or optical termination point) is critical for maximizing your fiber internet speed and reliability. Post-installation optimization matters —proper router placement, firmware updates, and network security configuration maximize your fiber internet investment.
-
How to pull up a power fiber optic cable
Fiber optic cables should always be pulled by the strengthened yarn fibers inside the outer jacket. This article explores recommendations for pulling and installing fiber optic cable. Most fiber optic cables boast a pull strength of 100 – 200. Fiber optic cable is surprisingly strong, durable and pliable; however, several best practices should be followed to ensure a successful cable installation. Most fiber damage does not come from normal operation after the system is live. More than half of cable problems happen because of wrong pulling. In 2025, new tools like hydraulic blowers, smart monitors, and better grips help you lower risks, save money, and keep the. A duct is available from point A to point B, a pull tape is blown in, a fiber optic cable is attached to it and the cable is pulled through the duct.